How to Clean TuxMat Floor Mats: Water-First Care, Salt, Backing, and Drying
A practical maintenance workflow based on official care advice: remove and release mats properly, rinse rather than grind in dirt, use conservative cleaning methods, dry both sides, and recheck retention before driving.
Disclosure: This page may contain affiliate links. They do not influence our editorial conclusions. Read the disclosure.
Our pick
- See price at TuxMat
Top pick
TuxMat
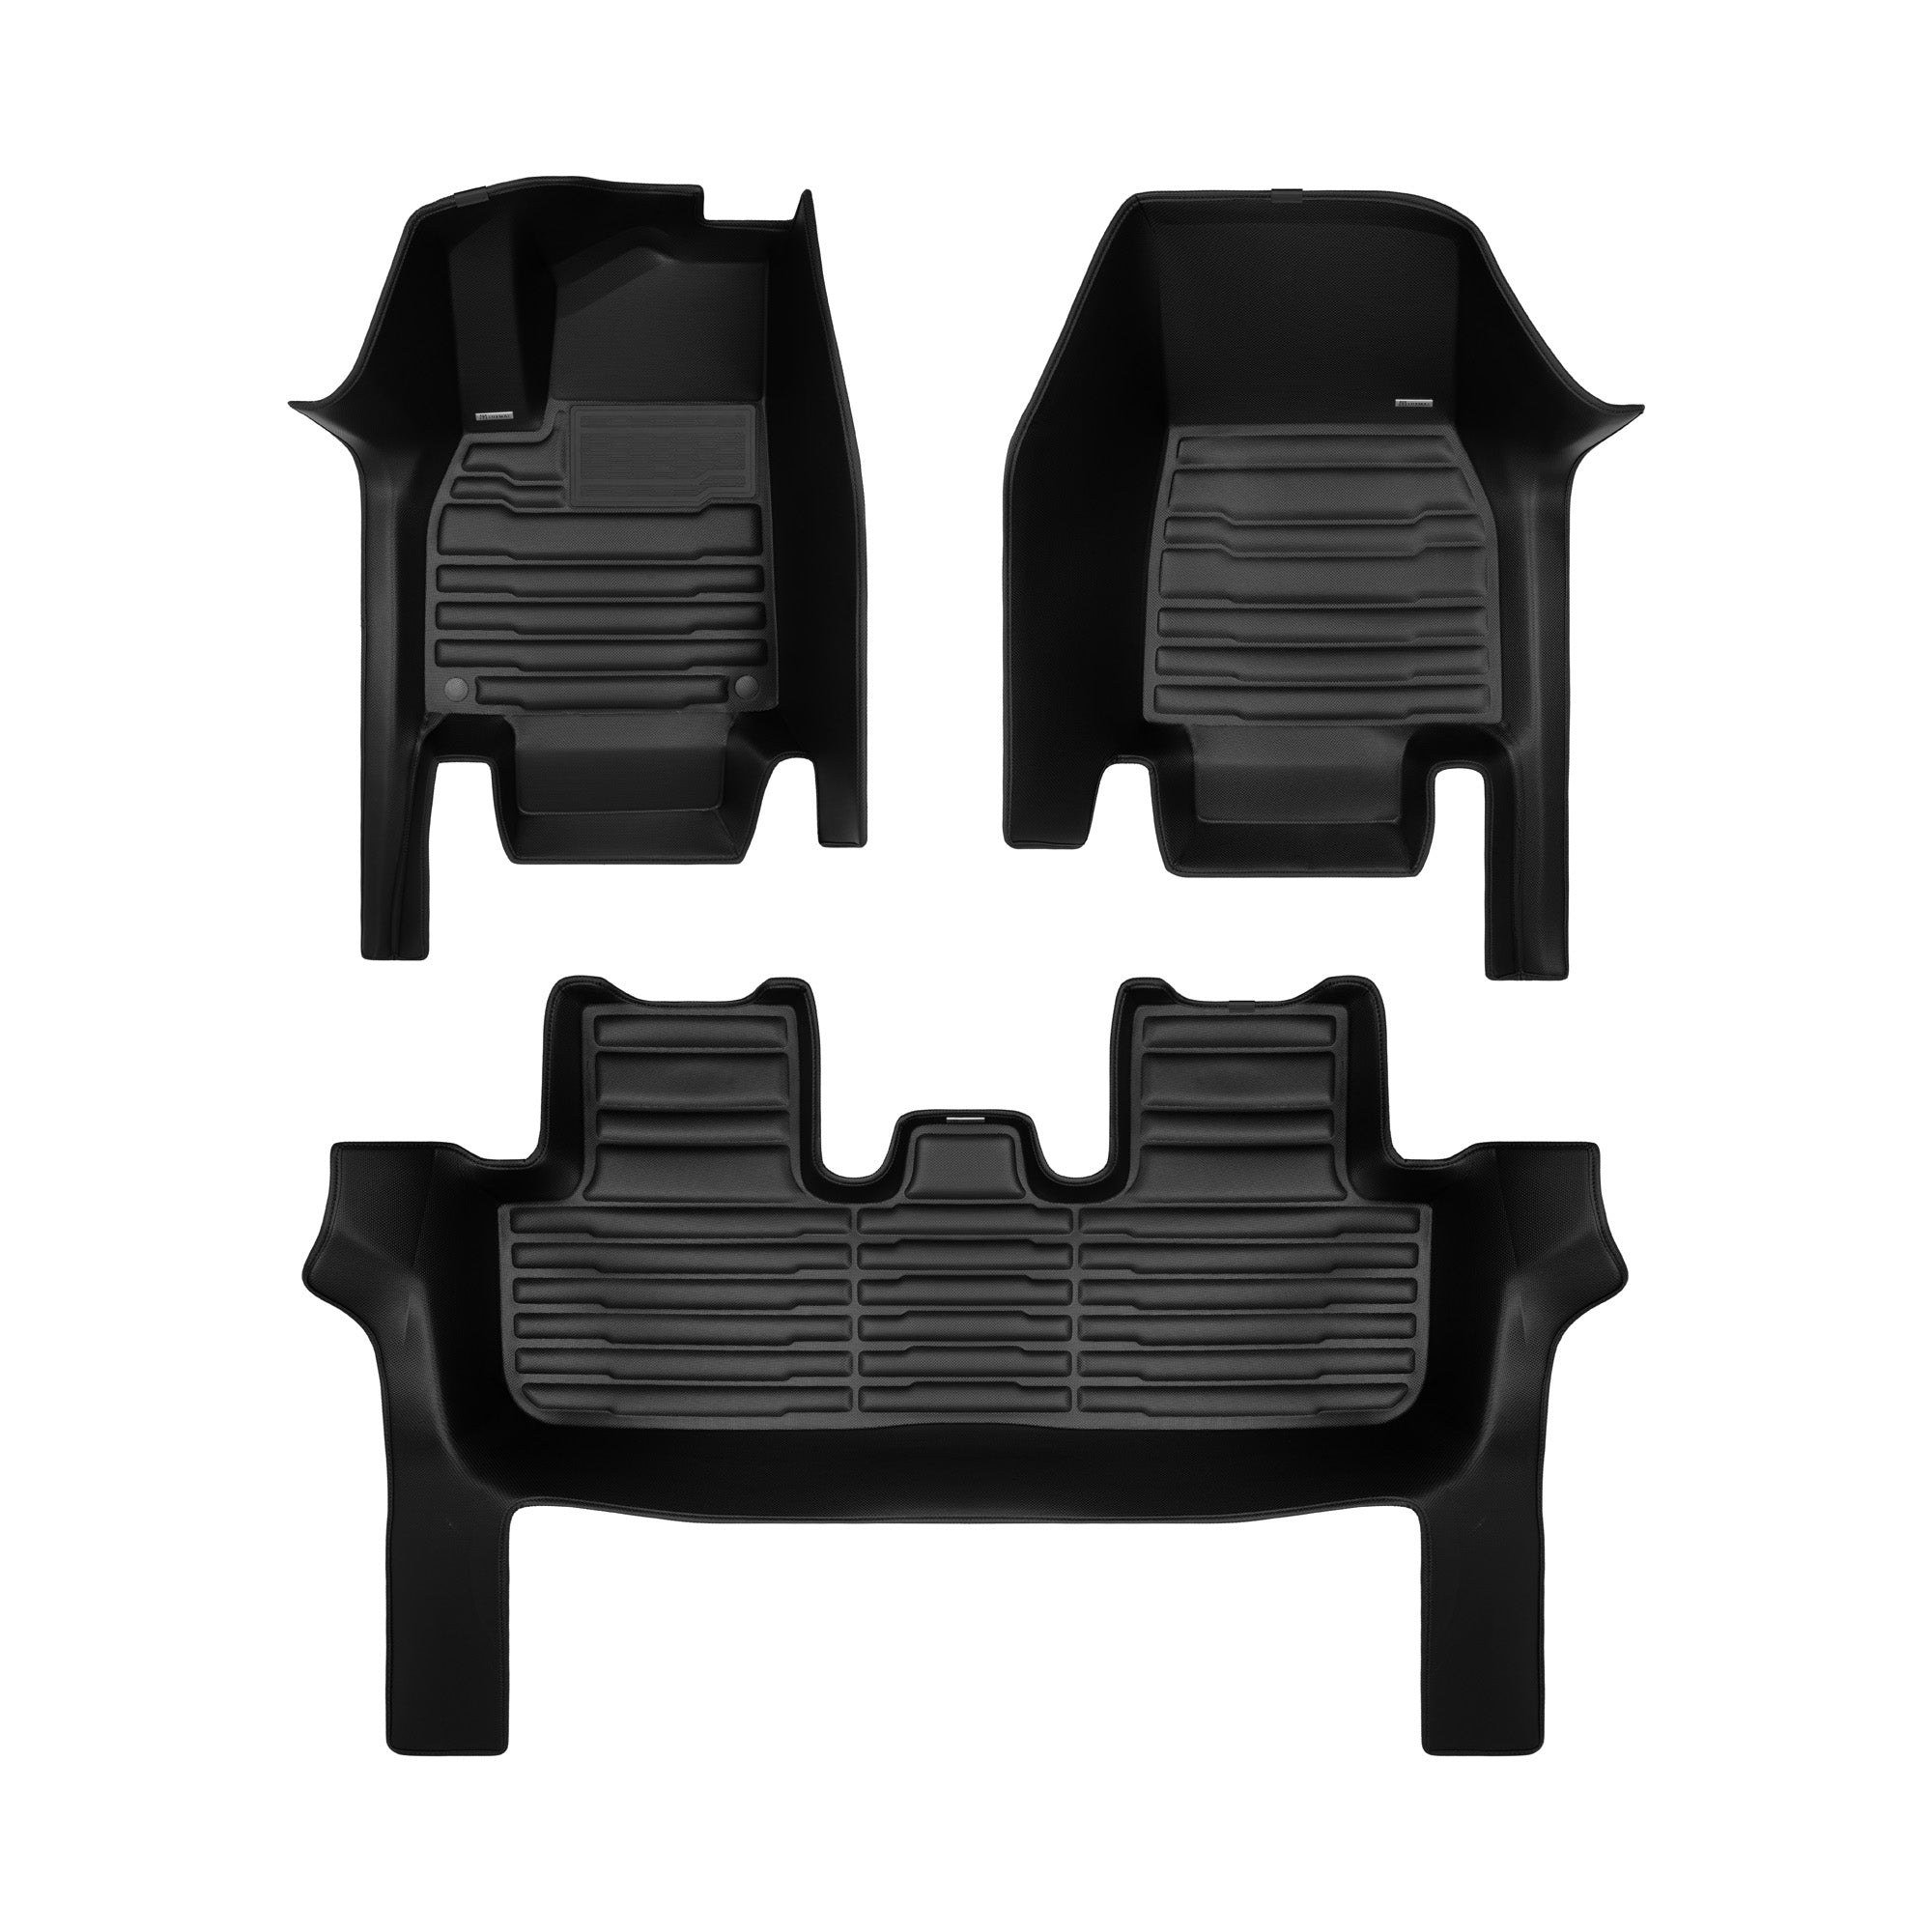
TuxMat sells vehicle-specific floor and cargo mats at tuxmat.com. Official sources describe layered construction, model-specific retention instructions, 30-day...
What this guide covers
TuxMat's own product instructions start with a simple care method: wipe the surface with a cloth or rinse it with water. The point is to remove dirt without turning routine maintenance into an aggressive chemical treatment. Safe removal, complete drying, and correct reinstallation matter just as much as the appearance of the top surface.
This guide uses official TuxMat care information, installation instructions, and warranty wording checked November 18, 2026. It is a maintenance workflow, not a cleaning test we performed. The guidance below concerns floor mats; a license-plate case or another TuxMat accessory should follow its own product instructions.

Start by identifying the material and the mess
The reviewed floor-mat listing describes a textured, water-resistant vinyl top, EVA core, and non-slip backing. The brand's materials article describes a PVC vinyl surface and anti-skid cloth underneath. A layered mat should not be treated as a solid rubber slab that can tolerate any cleaner or handling method.
Decide whether you are dealing with loose grit, dried mud, salt residue, a fresh spill, or an unknown contaminant. That helps choose the least aggressive effective first step. Water-first care is a starting method, not a promise that every substance can safely be removed at home.
The warranty excludes damage caused by incorrect cleaning methods or chemical contamination, including gas or bleach. If a spill involves a substance that may damage the material, ask for product-specific guidance rather than experimenting with stronger mixtures. Do not treat the mat's all-weather description as chemical resistance to everything.
Remove the mat using its actual retention system
Park and secure the vehicle before reaching into the footwell. Clear loose objects, and release the mat's anchors and edge clips according to the installation instructions. Do not try to save time by pulling until something gives.
TuxMat's separate hook-style guide specifically warns against yanking the mat straight upward. Its illustrated release method lifts slightly beside the hook and pulls toward the seat to unlatch it. Other anchor designs may release differently, so use the correct guide for the hardware in front of you.
Support the mat as you carry it out so loose dirt or liquid is not deliberately tipped back onto the carpet. This is a practical handling precaution, not a manufacturer promise that the mat can contain a particular spill volume. If removal is difficult, stop and identify what is still attached.
Loose dirt and grit: remove them before wet cleaning
The official materials article recommends shaking out loose debris regularly, with more frequent attention in harsh or heavy-use conditions. That is a useful first step because it removes material without requiring a cleaner.
A gentle shake or appropriate vacuuming can be enough for ordinary dry dirt. Avoid grinding a collection of grit across the surface with an abrasive tool. Check the channels, edges, and areas around retention points, not only the central heel-contact patch.
There is no need to convert the article's maintenance suggestions into a rigid schedule for every driver. A vehicle used occasionally on dry roads has a different cleaning load from one carrying muddy boots daily. Inspect the mat and respond to actual buildup rather than waiting for a calendar reminder while debris accumulates.
Water first for mud, residue, and ordinary spills
The product page says a cloth or water rinse is sufficient for routine care and that special chemicals or scrubbing are not needed. The official materials article likewise says most contamination rinses away and stubborn spots can be wiped with a damp cloth.
Use that conservative approach before escalating. Let water loosen dirt and carry residue away instead of immediately attacking the texture with a stiff or abrasive tool. For salt deposits, rinsing before rubbing is a sensible way to avoid dragging hard particles across the surface.
We did not verify a product-specific safe pressure-washer setting, nozzle distance, or water-temperature limit in the instructions used here. This guide therefore does not prescribe one. A claim that a mat is easy to rinse is not permission to use the most forceful equipment available.
If water is not enough, keep spot treatment mild
TuxMat's materials article allows a mild soap solution for stubborn stains and specifically mentions mild dish soap diluted in water. That supports cautious spot cleaning, not a universal endorsement of every all-purpose cleaner, degreaser, solvent, or household disinfectant.
Use the actual product's current guidance and ask TuxMat if the contamination requires something beyond the documented method. No exact dilution ratio was established by the source, so we do not invent one. Rinse away the cleaning solution rather than leaving a coating that could affect grip or collect dirt.
Avoid harsh chemicals, petroleum-based cleaners, and abrasive scrubbing tools, which the official article warns can damage the finish and reduce water resistance. The warranty's exclusions reinforce that caution. Combining several household products is not part of the verified routine and is not recommended here.
Clean and inspect the underside too
The official maintenance article recommends cleaning both sides periodically and removing accumulated carpet fibers from the anti-skid layer. A top surface that looks clean does not tell you whether the underside is carrying grit or the carpet below is damp.
Inspect the backing, edges, and retention components while the mat is out. Look for material separation, damaged clips, or debris that could prevent proper seating. This inspection is a practical way to notice a problem early; it is not a remote diagnosis of whether an issue is wear, misuse, or a manufacturing defect.
Vacuum the exposed carpet and check for moisture before reinstalling. A water-resistant top layer should not be interpreted as proof that the floor underneath never needs inspection. Liquid can reach a cabin floor through other routes, and covering an already wet area does not solve the underlying problem.
Dry completely rather than relying on a fixed timer
The official article says to let mats air dry completely before reinstalling. It gives a warm-weather example of a few hours, but that is not a universal deadline. Temperature, humidity, airflow, and the amount of water retained around edges or backing can change the practical drying time.
Arrange the mat so both sides can dry, and verify the underside rather than checking only the visible surface. Do not reinstall a damp mat simply because the clock has reached a number mentioned in a blog. The condition of the mat and the carpet matters more than an illustrative estimate.
We did not verify an approved oven, heater, high-heat dryer, or heat-gun procedure. This guide does not suggest one. If conditions prevent safe drying, allow more time or seek guidance instead of introducing an unverified heat treatment.
Reinstallation is another safety check
Once the mat and carpet are dry, return each piece to its correct location and re-engage the applicable retention hardware and edge clips. Do not place another mat beneath it to absorb residual moisture. TuxMat's installation manual requires existing mats to be removed before fitting its product.
Check that the mat lies as intended and remains clear of seat rails, levers, and moving hardware. For the driver side, the official guide calls for checking the full travel of the brake, accelerator, and clutch where applicable, with the vehicle safely stationary.
If the mat shifts or interferes with a control, do not drive with it installed in that condition. The installation walkthrough explains the manual's warning and why a good-looking edge is not enough if retention is wrong.
Keep maintenance separate from a warranty diagnosis
A recurring stain, odor, loose clip, or visible damage can have different causes. If ordinary documented care does not resolve the issue, retain the order information and photographs and use the appropriate support route rather than escalating through harsher products.
Our returns-versus-warranty guide distinguishes the 30-day return process from manufacturing-defect coverage. The materials review explains the construction without promising indestructibility. The TuxMat affiliate redirect may earn Brands Review a commission. Conservative care protects both the material and the ability to explain what happened if assistance is needed.
References
Meet your guide
Lipeiguan
author
What to read next
 TuxMat Returns vs. Limited Lifetime Warranty: Which Request Fits Your Problem? Distinguish TuxMat's 30-day-from-delivery return process and covered return shipping from its non-transferable manufacturing-defect warranty, exclusions, evidence requirements, and... How to Install TuxMat Floor Mats: Retention, Clips, and Pedal-Clearance Checks A safety-focused reading of TuxMat's official installation and hook-retention PDFs: remove existing mats, match anchors, secure edges, inspect pedals and seat rails, and stop if th... TuxMat Model Y AWD Floor Mats Review: Materials, Coverage Claims, and the $229.80 Set A source-based review of the official 2026–2027 five-seat AWD Model Y floor set, its listed $229.80 price, three-layer build, coverage-claim limits, retention requirements, and unt...