How to Install TuxMat Floor Mats: Retention, Clips, and Pedal-Clearance Checks
A safety-focused reading of TuxMat's official installation and hook-retention PDFs: remove existing mats, match anchors, secure edges, inspect pedals and seat rails, and stop if the mat cannot remain secure.
Disclosure: This page may contain affiliate links. They do not influence our editorial conclusions. Read the disclosure.
Our pick
- See price at TuxMat
Top pick
TuxMat
TuxMat sells vehicle-specific floor and cargo mats at tuxmat.com. Official sources describe layered construction, model-specific retention instructions, 30-day...
What this guide covers
- 011. Identify the correct product guide and hardware
- 022. Work with the vehicle parked and remove existing mats
- 033. Create access without trapping anything in the seat mechanism
- 044. Align the driver mat and engage the applicable retention
- 055. Seat the contours and check every control
- 066. Add the specified edge security
Installing a floor mat is a safety task as well as a fit-and-finish task. TuxMat's official manual warns that a mat which moves can interfere with the brake, accelerator, or clutch. It requires the old mats to be removed and says not to use TuxMat if the finished installation cannot comply with its warning.
This walkthrough explains the official installation PDF and separate hook-style retention PDF linked from TuxMat's help page, checked November 18, 2026. It is not a report of an installation we performed. Follow the current guide supplied for your actual product and vehicle; the generic steps below do not replace a different vehicle-specific instruction.

1. Identify the correct product guide and hardware
The how-to page asks owners to select the image resembling the product purchased. It distinguishes floor mats from the Capsule license-plate case and other accessories, and links additional instructions for hook-style retention and SuperTrunk. Do not use a cargo or license-plate guide as a floor-mat procedure.
The floor-mat manual lists ordinary clips and hook-and-loop clips. The FAQ describes a bag of clips, driver-side hook-and-loop clips, and a QR code for installation instructions. Check the actual package before starting so missing hardware does not become an improvised installation.
If a part looks different from the manual's drawing, identify it rather than forcing it into an assumed role. TuxMat's warranty page describes several retention types; there is no single fastener design that should be treated as universal across vehicles.
2. Work with the vehicle parked and remove existing mats
As a basic working precaution, keep the vehicle stationary and secured before reaching into the footwells or adjusting seats. Clear loose objects from the area. Never attempt installation or pedal-clearance checks while driving.
The manual explicitly requires existing floor mats to be removed before TuxMat is installed. Do not stack the new product on an OEM mat or another liner. The manufacturer-designed fit and retention points should not be assumed to work correctly with an extra layer underneath.
Vacuum loose dirt from the carpet so it does not prevent the mat from sitting as intended. The official materials article explains that the backing requires clean carpet for grip. A clean surface complements the specified fasteners; it does not replace them.
3. Create access without trapping anything in the seat mechanism
For the driver area, the manual begins by moving the seat back and upward as far as possible. That provides room to position the mat and see the retention points. Keep hands, loose hardware, and the mat clear of moving rails while adjusting the seat.
The passenger section uses a similar access step. The rear section instead calls for moving the front seats up and forward to reach the rear floor. These are setup positions, not the final positions in which the seats must remain.
If the vehicle does not offer a particular adjustment, do not force the mechanism or dismantle it to imitate a drawing. Follow the vehicle's own instructions and ask for help if the mat cannot be positioned safely with normal access.
4. Align the driver mat and engage the applicable retention
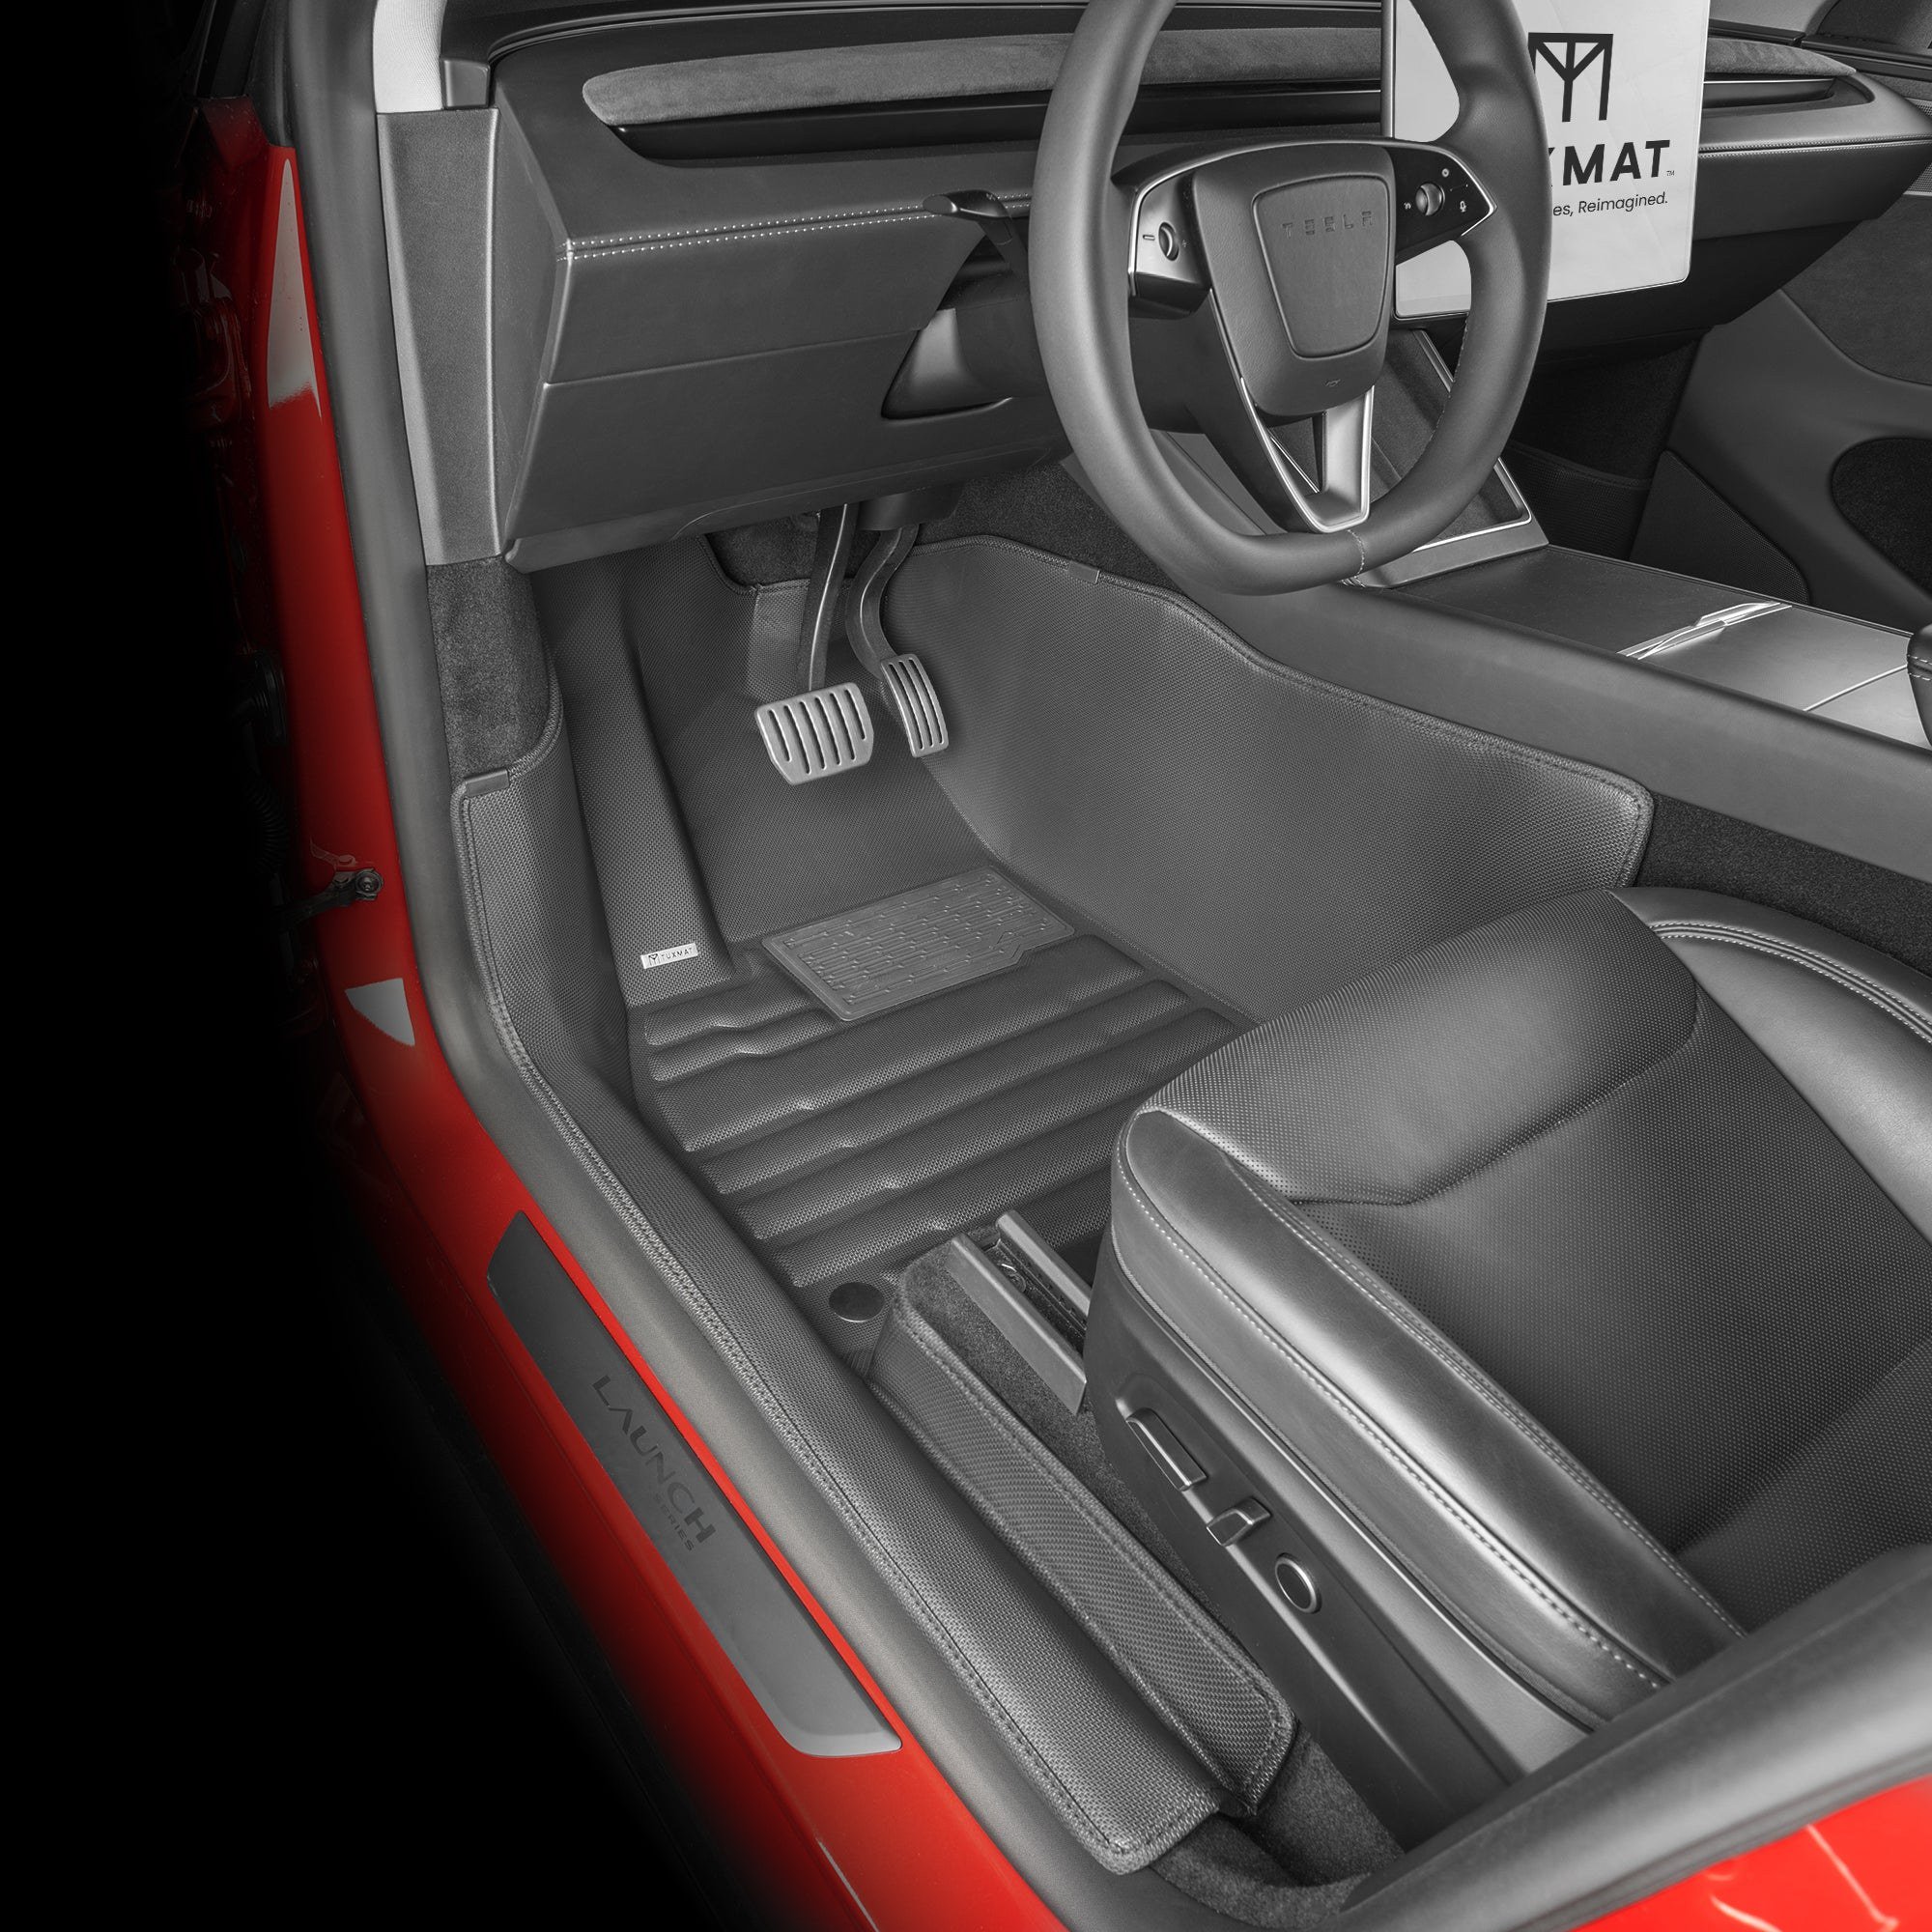
Place the correct driver mat in its intended orientation and locate the existing carpet anchors if present. The manual says retention type can vary by make and model, including hook-and-loop, push, hook, and twist-lock systems.
Once aligned, fasten the mat's retention hardware to the vehicle's anchor points using the appropriate method. A near alignment is not a reason to drill, cut, or stretch a different connection into place. If the hardware does not match, stop and verify the product and supplied parts.
The manual includes a route for vehicles without the pictured anchors, directing the installer to the next fitting step. That does not authorize ignoring security altogether: the finished mat still must remain in place and satisfy the complete safety warning.
5. Seat the contours and check every control
The manual instructs the installer to flatten the mat along the footwell surfaces, tuck the rear portion beneath the seat rails as illustrated, and ensure it is free of obstructions such as levers, rails, and pedals. Use the supplied diagram to understand the intended edge position; do not push material into a moving mechanism.
It then calls for checking the full motion of all foot pedals—brake, accelerator, and clutch where applicable—to confirm no interference with operation. Perform this while the vehicle remains safely stationary. Check the whole moving path, not just whether a resting pedal appears to have a gap around it.
Any interference is a stop condition, not something to see whether you get used to on a road test. Recheck the fit and instructions, and do not use the mat if the warning cannot be satisfied.
6. Add the specified edge security
The guide shows security side clips attached at the mat's edge and slid beneath interior trim as required. Where side clips cannot be applied, it describes optional hook-and-loop clips with removable backing attached to a suitable flat surface.
Use the type and placement shown for the actual mat, rather than adding random adhesive or forcing a clip under an unrelated panel. The instruction is to secure the edge, not to pry apart vehicle trim or damage the interior to create an attachment point.
If the mat extends under the seat, the manual describes securing its edge so it remains flat and clear of seat rails and under-seat hardware. After returning the seat toward its normal position, recheck that the mat is not dragged, pinched, or lifted into the mechanism.
7. Treat hook-style retention as its own procedure
The separate hook PDF says to position the mat, locate the retention underneath, and align the hole over the hook. Once aligned, pressure at both sides of the ring allows the hook to pass through and lock the retention.
Its removal warning is equally important: do not simply pull the mat straight upward by force. The described release method places a hand beside the hook, lifts the mat slightly, and pulls toward the seat to unlatch it. That instruction is specific to hook-style hardware, not a universal release method for every retention type.
Read the diagram before applying force. If you cannot identify the hook or release direction, stop rather than risking damage to the mat or vehicle anchor. Keep this procedure available for later cleaning, when the same hardware must be released correctly again.
8. Fit the passenger and rear sections separately
The passenger instructions follow alignment, applicable anchor engagement, contour fitting, and edge security. Even without pedals, a passenger mat should remain clear of seat rails and levers. A clean-looking fit is not enough if the seat mechanism can catch an edge.
For the rear section, the manual describes aligning the mat, using existing anchors where applicable, and flattening it to the floor. It notes that some rear mats require the rear seat to be lifted. That is a model-dependent instruction, not a reason for every owner to remove or dismantle a seat.
If the required access is unclear, consult the product-specific guide or TuxMat before proceeding. Do not modify the mat to compensate for a seating configuration different from the one it was sold to fit.
9. Complete a stationary final inspection
Confirm the mats are in their correct locations, the applicable fasteners are engaged, edges are secure, and no control or seat movement is obstructed. TuxMat's warning requires that the mat not shift after installation is complete. If that condition cannot be achieved, do not use it.
Repeat the relevant checks after removing the mats for cleaning or changing their position. Our cleaning guide covers removal and drying; the fit guide helps identify a mismatched package. For missing or defective parts, see the warranty-route guide.
The TuxMat affiliate redirect may earn Brands Review a commission. It does not change the manufacturer's safety requirements. A correctly matched product and a secure, obstruction-free installation take priority over any advertised installation-time estimate.
References
Meet your guide
Lipeiguan
author
What to read next
TuxMat Returns vs. Limited Lifetime Warranty: Which Request Fits Your Problem? Distinguish TuxMat's 30-day-from-delivery return process and covered return shipping from its non-transferable manufacturing-defect warranty, exclusions, evidence requirements, and...  How to Clean TuxMat Floor Mats: Water-First Care, Salt, Backing, and Drying A practical maintenance workflow based on official care advice: remove and release mats properly, rinse rather than grind in dirt, use conservative cleaning methods, dry both sides... TuxMat Model Y AWD Floor Mats Review: Materials, Coverage Claims, and the $229.80 Set A source-based review of the official 2026–2027 five-seat AWD Model Y floor set, its listed $229.80 price, three-layer build, coverage-claim limits, retention requirements, and unt...